First, I will show how to add your fonts to Phonto or Letterglow, then show you how to add your journaling in those apps. Last, I will show how you add text in the Project Life app.
Here, you can just use the cards you have purchased in the Project Life app and journal on them directly in the app, but if you want to use cards you have in your digital stash, or you want to use a particular font you love, you will need to use another app. I use Letterglow. And in Letterglow, I have my favorite fonts added to use for my journaling.
Adding Fonts in Letterglow
Adding Fonts in Letterglow
Tap the gear button when you open Letterglow and then tap install Fonts
You will see a message to select either a OTF or TTF font file from Dropbox. I have all my fonts in one folder in my Dropbox account
Select your font or fonts and then tap the back arrow to go back to the Letterglow settings menu. Now your favorite fonts will be in the Letterglow app for you to use on photos and journal cards.
Adding Fonts in Phonto
Phonto is a little bit different,
You start by going into Dropbox and pulling up the font you want. It will look like the left where it says No Preview Available. You will tap on the little box with the up arrow in the top right corner and that will open your options. Tap on Open in.
You should get your options that will allow you to use a font. On my device, that is Phonto and Over. Just tap Phonto and it will show you the font is loaded. You will then have that font in your app when you go to use it. (You would have to reload the font if you should delete the app)
Adding Text in Letterglow
Now, I can open a photo or journal card from Dropbox or my camera roll and add any text I like.
I go into Dropbox, find my photo or journal card, and click on that little box with the up arrow, then chose, Open In to get to Letterglow or Phonto without having to save all the items to my camera roll first.

If you hit font, you will get a menu of all the Phonto available fonts as well as any you have uploaded to Phonto.
I go into Dropbox, find my photo or journal card, and click on that little box with the up arrow, then chose, Open In to get to Letterglow or Phonto without having to save all the items to my camera roll first.
I am working on a 6x4 photo here, but it is the same for opening a journal card and adding your text. I open Letterglow and tap the green polaroid looking button to go to my camera roll and I picked this messy bed photo. Once you have cropped to the size you want or if it's already the size you want, tap USE.
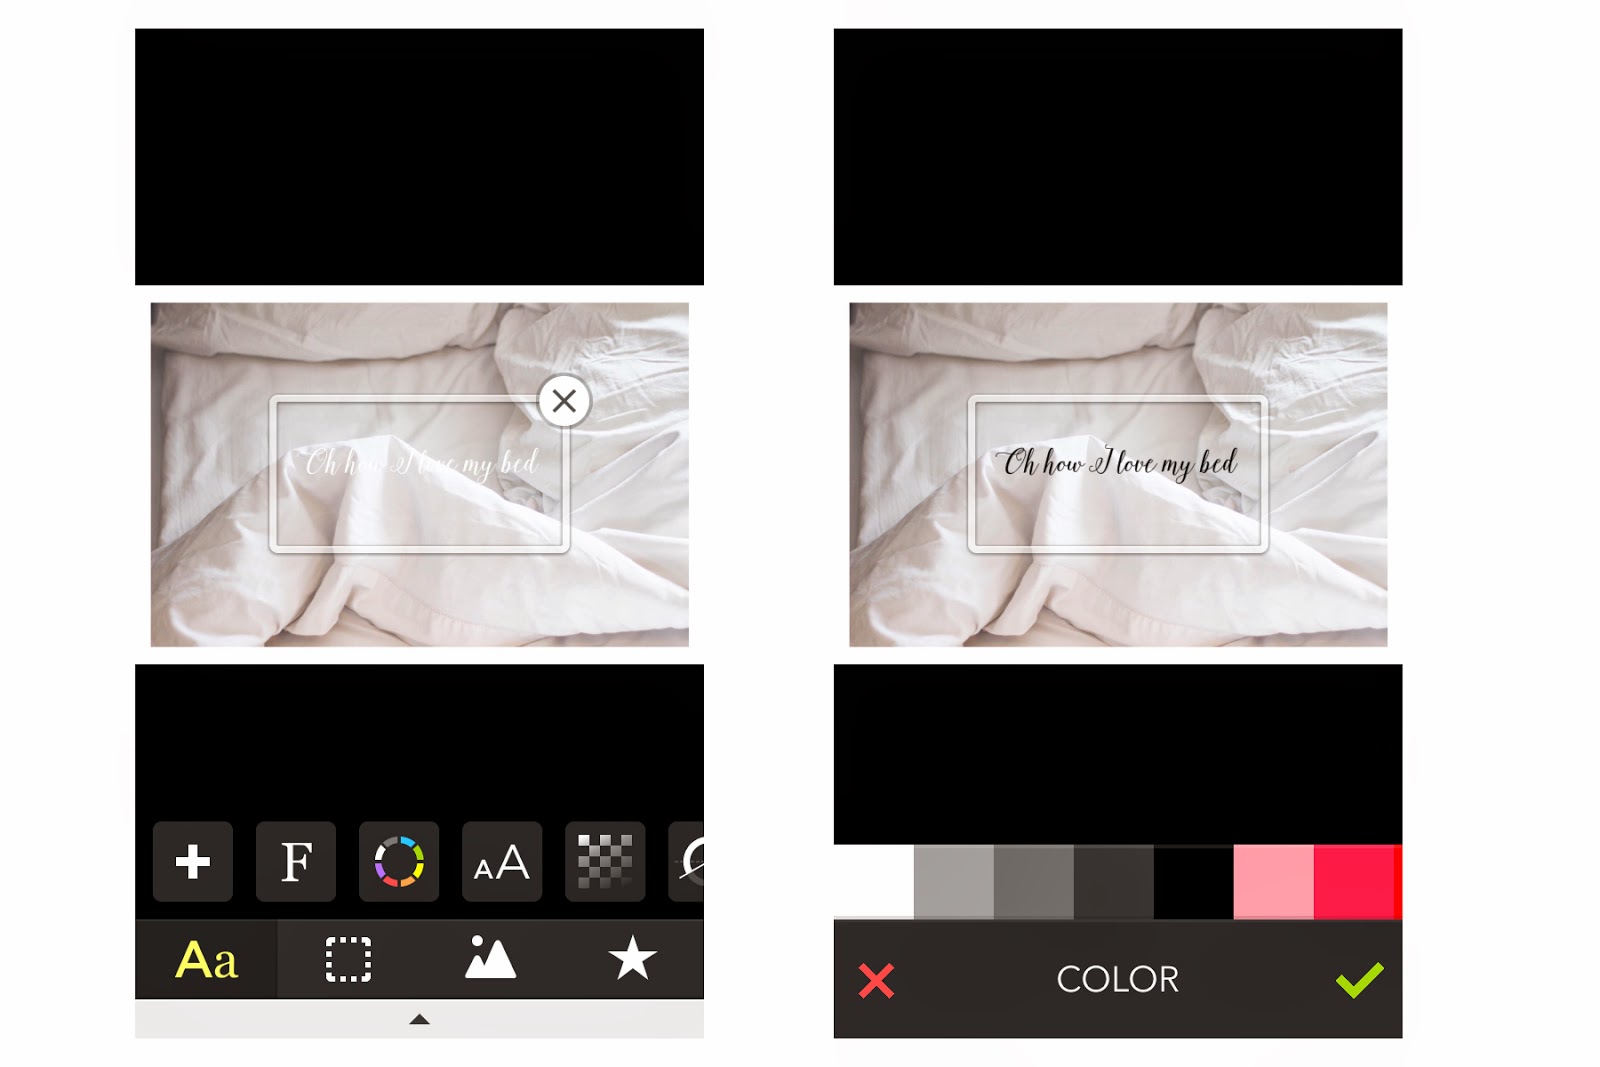
It will open up the text box and you can type in your journaling. The color defaults to white, so if you can't see anything on a white photo, you will just want to change the color. Once you have chosen your font, size, and the alignment. tap the check mark.
Here you can see that the color or the text is white. I just tapped the color wheel to choose a different color.

If you tap on the AA button, you can change the font size. You can also use two fingers to "spread out" the text box and increase or decreas the size. If you tap on the checkerboard button, you can change the opacity of your text.
You can also rotate your text and adjust the letter spacing to move the letter closer together or farther apart.
Once you have your text complete, tap the little black triangle arrow at the bottom center of your screen and save to your camera rool with the green save button. Now, your text card or photo is in your camera roll to add to your pocket page.
Adding Text in Phonto
In Phonto, tap on the little camera to get your options for taking a photo or pulling from your camera roll. Or, you may have gone into Dropbox first and opened your card or photo in Phonto as I mentioned above.
I am working with a photo from my camera roll here. Phonto has filters as well as cropping in the first section. (You can opt to skip filters in the settings) Just tap Done when you are finished.
Now, here I ran into a little issue as Phonto used to be free to add text and now, they charge you 99 cents for a text pack. There are some cool effects you can accomplish with the text pack, so I would say to go ahead and speand the dollar. Especially if you are Android and it is your only option. You will need to tap Settings. (I am not certain if this is the same in Android as I can't get Phonto on my Kindle Fire or, if you have always had the Phonto app before they started charging for text. I had deleted my Phonto app since I use Letterglow so much.)
Scroll down to the Add-On section and tap Text Style Kit.
Now, you need to pull up your photo or card and tap on the image to get the Add Text box. Type in your text and set your alignment. Then hit done. Then your options for your text will pop up. You can change the style, size, tilt, or move the text around.
Under Style, you can change the color of your text and add some cool effects that I haven't gone over here. I am just doing the basics of adding your text. Once your text is complete, You can save to your camera roll to add to your pocket page layouts.
Adding Text in the Project Life App
It is so very easy to add text in the Project Life app. Here I am selecting a 6x4 template that I might use in my hybrid layouts. To get to these templates, tap on the orange pie piece. Once you have selected your template, tap on the portion you want to add your journal card to.
Your optins for adding a photo or a Project Life card will come up. The Midnight edition was included with a few others when I purchased the app so I am choosing a card from there.
When you choose your card, you will see the text button appear and you just need to tap it to pull up the keyboard. Type in your text.
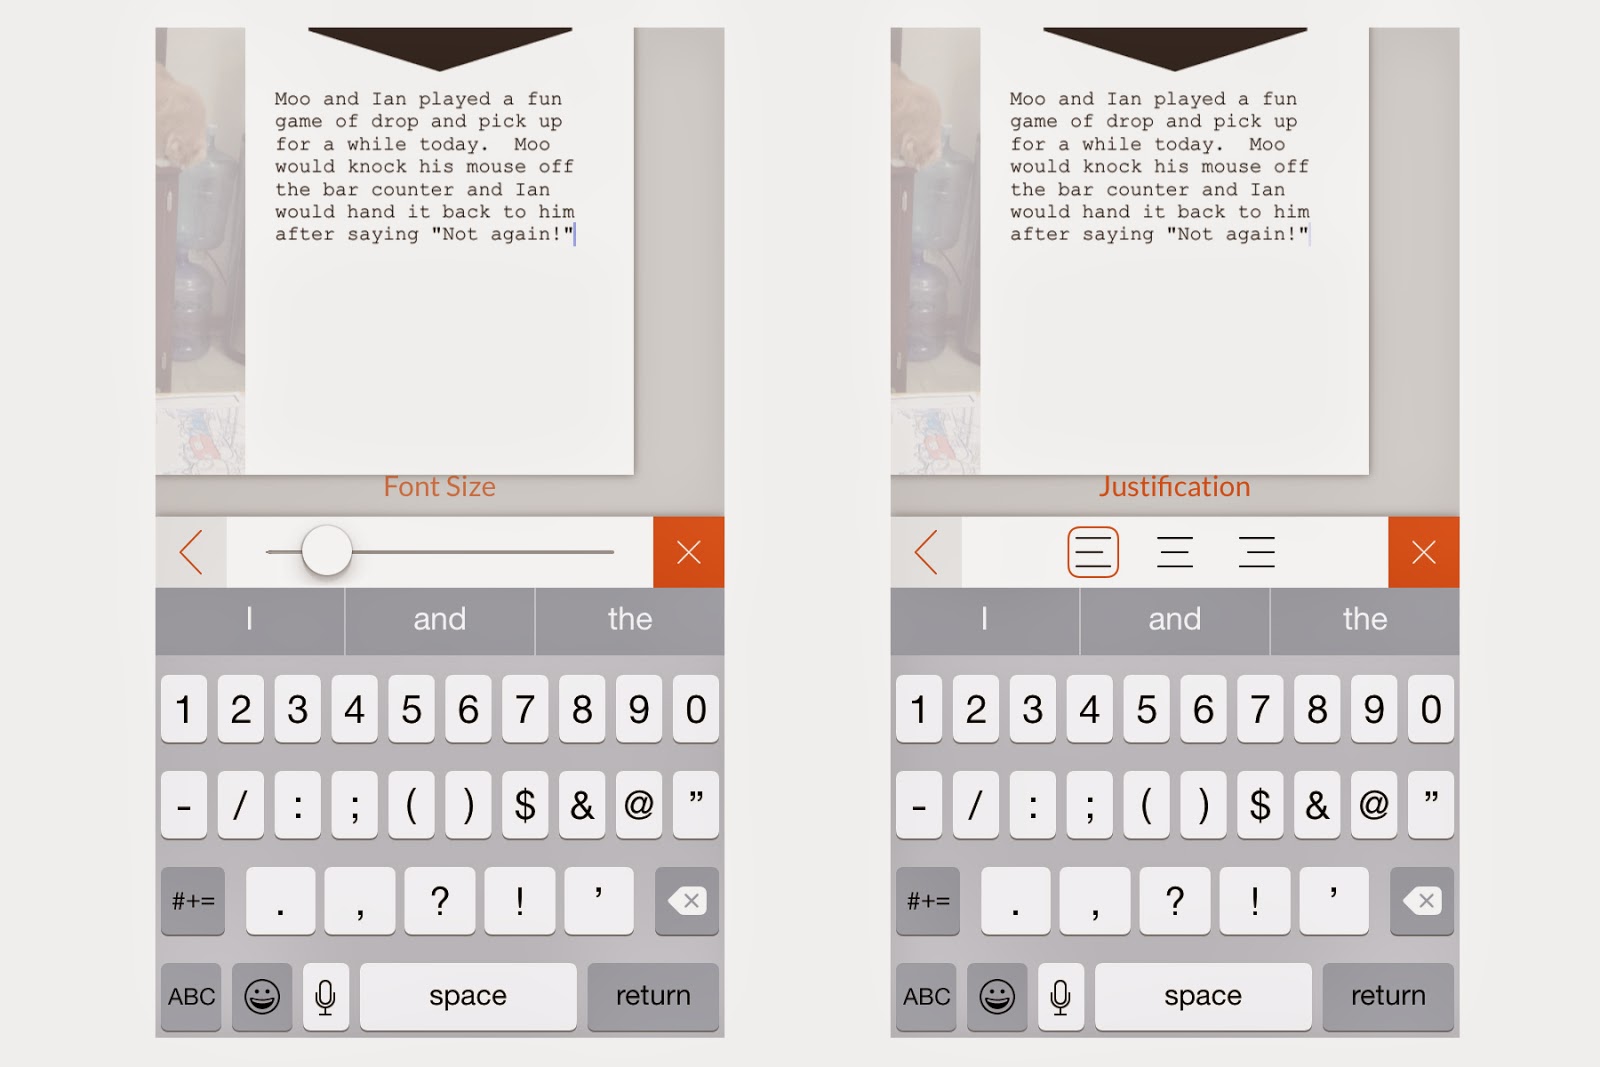
Once you have completed your text you can change the line spacing to fill up the card.
Or the font size, justification or vertical offset.
Now your text is added and you can save your template.
I will go over more of this app in Part 5.
Text Apps - Over, Phonto, Letterglow, Studio, Rhonna Designs, A Beautiful Mess.


No comments:
Post a Comment